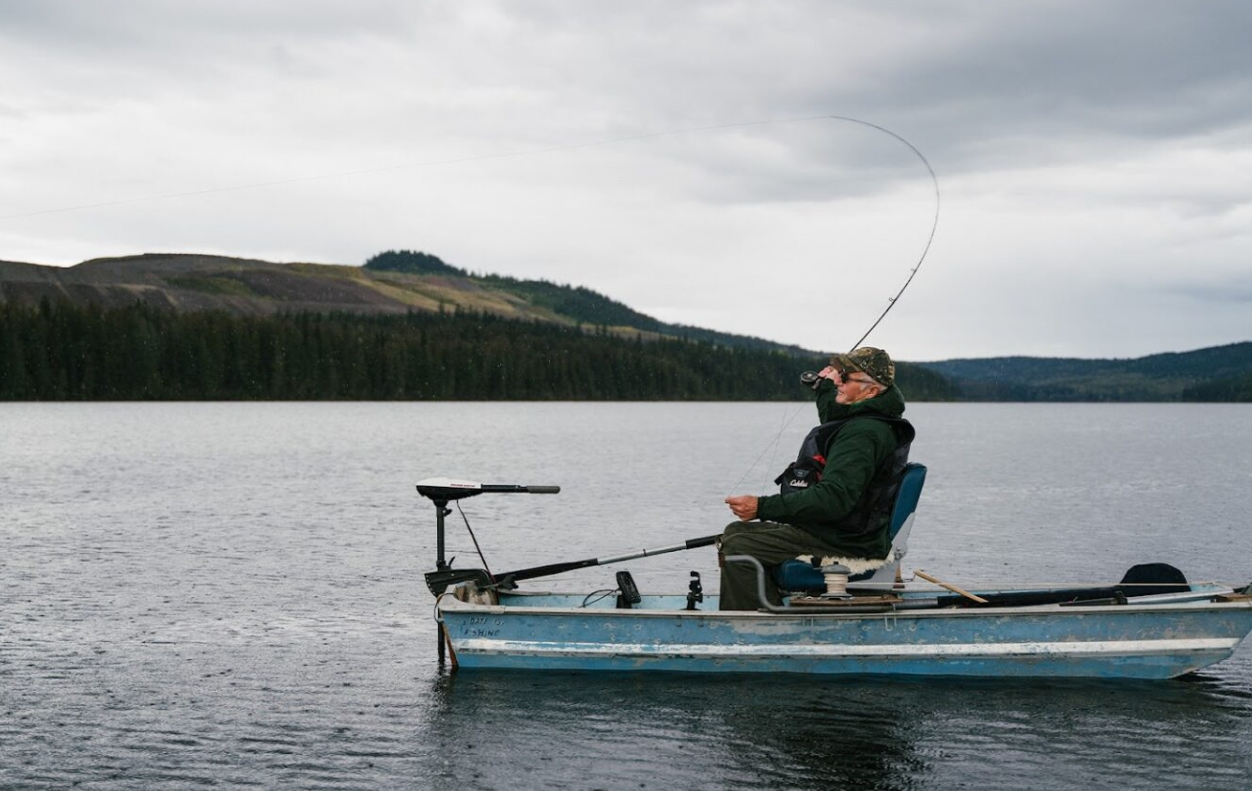
I've ruined a good day on the water — twice — because I trusted seams I never stopped to inspect. The first time, my waders gave out at the crotch gusset around mile three of a backcountry float. The second time, the boot-foot junction on a brand-new pair started weeping cold water. That happened before the season was even half over. Both failures were preventable. Both traced back to the same root problem: I didn't know what good stitching looked like before I handed over $300.
Fish in waders or bibs more than a few times a season? Brands developing custom fishing waders often inspect these stitching details before approving production.The reinforced stitching at high-stress areas is not a minor spec. It's the difference between gear that lasts five years and gear that quits on you at the worst moment. Here's where to look — and what you should see when you do.
Knee Panel & Reinforced Pad Attachment Zones
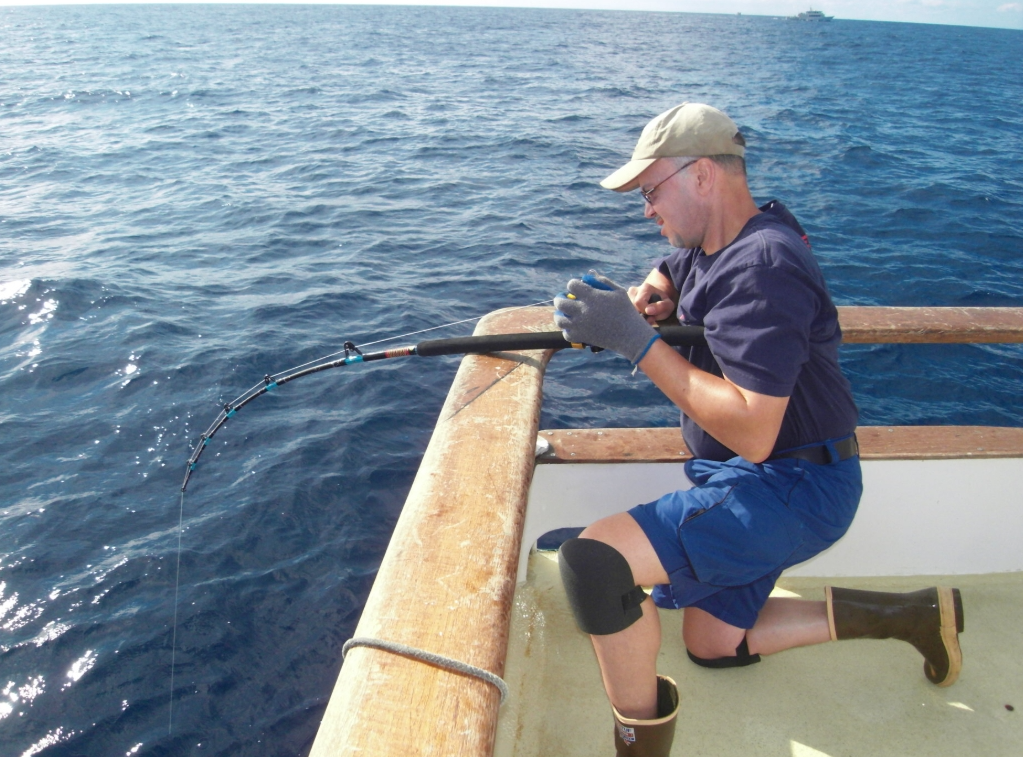
Knees take more punishment than most anglers realize — until something tears.
Drop to one knee on a rocky streambed to net a fish. Brace against a boat deck cleat. Crawl across a slick boulder to reach a better casting position. Each move puts that knee panel under serious stress. It's not just one type of stress, either. There are three happening at once: point abrasion at the center, edge shear along the perimeter, and repeated flex fatigue at the lower corners where the leg bends hardest.
Field wear data backs this up. Knee zones show 3–5× higher wear incidence than seat or thigh areas. An experienced fishing wader factory reinforces this area long before mass production begins.Spend a full day wade-fishing technical water, and that number makes total sense.
What "Reinforced" Means Here
A reinforced knee panel isn't just thicker fabric sewn over the front of the leg. On quality fishing bibs and waders, the overlay extends 50–100 mm above the kneecap center and 100–150 mm below it . The lateral edges wrap at least 20 mm around the leg curve toward the side seams. That wrap matters. Without it, all the bending force hits a single front-facing hinge line. That's where cracking starts.
Serious gear meets a clear construction standard:
Three parallel exterior stitch rows around the overlay perimeter, spaced 3–5 mm apart , using bonded nylon thread (Tex 70–90) at 3–4 stitches per millimeter
Interior seam tape, 20–25 mm wide , running without gaps along the full perimeter — no bare corners
Bar-tacks at the upper and lower corners of the overlay to stop tear propagation before it travels along the seam line
For neoprene-reinforced knee zones common in cold-water bibs, the correct build sequence is glue + blind-stitch + interior seam tape . No exposed through-stitched seams in the contact area. Raw stitching on the inside of a neoprene knee panel with no tape covering it is a leak waiting to happen. Un-taped knee seams can push water leakage rates up by 200–400% under kneeling load compared to a taped build.
The performance gap is measurable. Triple-row seams with interior tape extend knee-zone service life 1.5–3× longer under standardized abrasion tests. Leak resistance jumps from under 5 psi on an un-taped single-stitch seam to over 15 psi on a well-reinforced panel.
30-Second Knee Panel Inspection
Run this check in a store or on a product detail page before you buy:
Flex the knee to 90°. The overlay should lie flat. Radial puckers or a "smile" fold at the lower edge means the panel is too short or too rigid for real kneeling posture. It will crack or delaminate with repeated use.
Turn it inside out. Look for seam tape running the full overlay perimeter. Tape should be ~20–25 mm wide and extend at least 10–15 mm past the stitch lines on both sides. Any gap at a corner becomes a leak point later.
Count the exterior stitch rows. Three parallel rows is the standard for high-wear fishing bibs. One row is a budget shortcut — you'll see the difference by mid-season.
Run a finger around the overlay edge. It should feel like a smooth transition into the base fabric. No hard ridge. No lifted segments along the lower edge where boot hardware or deck surfaces can catch the material.
A hard ridge along the overlay perimeter means stress is already building there. The fabric is showing you where it plans to fail.
Crotch Gusset & Inseam Transition Points
The crotch gusset is the most telling structural feature on a pair of waders. It shows you right away whether the fishing waders manufacturer understood how a human body moves through water.
Here's the geometry problem every wader designer faces: conventional pants terminate four seams — front rise, back rise, left inseam, right inseam — at a single point beneath the crotch. That intersection handles every squat, stride, and scramble you throw at it. Under sustained load, it fails. Every time.
A well-engineered crotch gusset removes that single stress point. A diamond- or triangular-shaped panel takes its place. It reaches into both inner thighs with two points and routes the front and back rise seams around its edges. The load that used to spike at one spot now spreads across the full perimeter of that panel.
Where the Gusset Actually Fails
The gusset panel itself rarely tears. Failure almost always happens at the transition point — where the diagonal gusset edge meets the straight inseam line running down toward the ankle. That angular junction is where stress builds up. You're in a deep squat on a slick rock, pulling line, pushing against current. The fabric stretches in multiple directions at once: fore-aft along the rise seams, side-to-side along both inseams, and at an angle across the gusset's bias-cut edges.
With a weak gusset, you'll see the seam start to "grin" — thread gaps opening between stitches — right at that upper thigh junction. Water gets in fast.
What Qualified Construction Looks Like
A few non-negotiable indicators:
Seam tape coverage : 18–22 mm wide, running without gaps across every gusset panel edge and extending 10–15 cm past the gusset endpoint into each inseam . No gaps. No bubbles at panel corners. The tape must cover every needle hole, including the Y-shaped junction where front and back rise seams meet the gusset edges.
Thread spec : Bonded nylon or polyester at Tex 70–90 , stitched at 6–8 stitches per inch . Dense enough to spread load — but not so dense it turns the fabric into a tear line.
Smooth transition geometry : The seam should flow without sharp angles where the gusset ends and the inseam begins. Any abrupt notch or point in the stitch line is a weak spot waiting to open up in your second month of hard use.
30-Second Inseam Transition Check
Inside-out first. Find the gusset panel — it should look distinct, not just a pinched extra layer. Run your finger along every seam where the gusset edge meets the inseam. The tape should feel continuous, flat, and a bit wider than the visible stitch line on both sides.
Then pull side to side. Grip the fabric on either side of that upper thigh junction and apply moderate tension. A solid bonded seam holds without any sound. Hear cracking or feel the tape lifting? That adhesion won't last a full season of deep wading flex.
Last, squat. A full deep squat in-store tells you more than any product description. Watch for white stress marks or visible thread spreading at the gusset corners — that's the fabric showing you its weak point before you've paid for it.
Boot-Foot & Stocking-Foot Seam Junctions
Cold water doesn't announce itself. It just arrives — a slow creep around the heel, then across the ball of the foot, and your afternoon is over.
The foot junction is where waterproof wader construction gets complicated. A seam has to stay intact through four distinct stress points at once: the ankle wrap, the heel cup transition, the toe box edge, and the main boot-foot attachment line. Every step bends all four. Over and over. For hours.
That's the mechanical reality: pinhole fatigue . Every stitch punches a needle hole through waterproof material. Flex those holes enough times under load, and the membrane around them micro-tears. Water finds a path. This isn't a defect — it's physics. The one counter is sealing every hole from the inside before it becomes a problem.Reliable fishing wader OEM/ODM services usually include seam-tape testing before shipment.
What the Interior Should Tell You
The inside of a boot-foot or stocking-foot junction is the most honest part of the product. Turn it inside out before you buy anything.
What you're looking for:
Continuous seam tape across the full heel curve and toe box — no gaps, no lifted edges, no sections taped over a bubble. Curved transitions are the hardest to seal well. That's where budget construction cuts corners.
Tape that lies flush , not puckered. A puckered tape line means the adhesive bonded unevenly under heat. It will peel from the inside out with flex — faster on cold water than warm.
Uniform exterior stitching through every radius. Stitch spacing that tightens or loosens through the heel curve signals inconsistent machine tension. The seam is already weaker at those irregular points.
One thing worth knowing: boot-foot waders go inside wading boots. That external boot takes the bulk of abrasion and impact. It protects the foot-seam junctions from surface damage. Skip the wading boots to save weight, and you speed up failure at the exact zone described here.
30-Second Boot-Foot Seam Check
Inside first, always. Run your finger along the heel cup curve and around the toe box. The tape should feel smooth and continuous — no ridges where one strip ends and another begins, no bare seam line at any point.
Then check the ankle transition. That's where the wader shaft meets the foot section. It's an angular junction. It handles flex stress in a different way than the curved zones above and below it. Any puckering, bunching, or incomplete tape coverage here is a red flag.
Last, inspect the exterior stitch line. No loose thread ends at the flex radii. No bunching at the heel. Stitch spacing should look the same across the straight ankle run and the sharpest curve at the toe.
Got a pair you already own and suspect a leak? Do a controlled water fill to knee height. That's enough pressure to expose foot-area pinhole seepage without overstressing intact seams. For small pinholes, Aquaseal or Seamgrip applied clean and dry works well — extend the sealant past the damaged zone on each side. A structural split needs re-stitching before any sealant goes on. Sealant over an open split is a temporary patch, not a real repair.
Suspender Strap Anchors & Adjustment Hardware
Suspender anchors fail without warning. No blowout, no dramatic split — just a slow distortion of fabric around a buckle mount. It gets worse each time you haul yourself up a steep bank.
The geometry here is specific. Front strap anchors sit in the upper chest zone, 150–250 mm below the shoulder seam . Shoulder pivot points land just below the clavicle. That placement has a purpose — it spreads load across your torso. The strap can rotate full range while you cast overhead or haul a net. Move those anchor points even a little, and you get edge-loading. A dependable fishing bib supplier will normally verify anchor strength through repeated load testing.Edge-loading tears fabric at the hardware boundary — not the hardware itself.
What Qualified Construction Looks Like
Single-line stitching under a D-ring is a budget shortcut. Here's what you actually need:
Box-X pattern or clustered bar tacks — 4–6 full passes of high-tenacity thread, symmetric around the hardware footprint
Laminated reinforcement patch behind every anchor point, extending 3–4 strap widths in each direction — enough fabric area to spread peak load rather than concentrate it
No single-layer fabric under load-bearing hardware — ever
Skip these standards and the result is predictable. Fabric tears around the stitch perimeter, not through the buckle. The hardware survives. The bib doesn't.
30-Second Anchor Check
Visual first. Look for dense bar-tack clusters or a clear box-X pattern at both shoulder and chest anchors. Check for doubled or laminated fabric behind every D-ring. Single-row stitching under a buckle is a red flag — it's already under-built.
Then pull. Grip each shoulder strap at the pivot and yank straight down with both hands — firm, not savage. The bib panel around the anchor should stay dead still. Any puckering or radial wrinkling means the reinforcement patch is too small to handle that load.
Last, rotate. With light tension on the strap, the D-ring or buckle should pivot with no resistance. A strap that drags on the shoulder seam or locks up means the routing is off. That binding turns smooth tension into shear spikes — and shear is what destroys stitching first.
Seat, Lower Back & Hem Abrasion Panels
Sit on a wet granite ledge for three hours. Your waders will show you where the Fishing Bibs And Waders manufacturer cut corners.
The seat and lower back zone takes a different kind of abuse than knees or the crotch gusset. It's not sudden impact stress — it's slow, compressive grinding. Each time you settle onto a rock edge, a boat bench, or a patch of river ice, the ischial contact points push pressure straight into the fabric. Add wet abrasive surfaces and repeated crouching. The shell material starts thinning from the outside in. The seams at the hem corners start wicking from the inside out.
Both failure modes are quiet — until they're not.
What's Getting Stressed
The seat panel needs to span full width — side seam to side seam — and cover 20–30 cm vertically , from the upper rear thigh up through the lower back junction. The lower back reinforcement picks up from there, covering another 15–20 cm centered on the lumbar curve. On quality fishing bibs and waders, these two panels form a continuous reinforced band . Not two separate patches with a gap between them.
A gap between the seat overlay and lower back coverage creates a direct path to abrasion failure — right where you sit hardest.
Overlay fabric should run at least one denier class heavier than the shell. A 150D shell needs 400–600D overlay material , rated for ≥20,000 Martindale abrasion cycles. Anything thinner is decorative.
At the bottom hem, a separate failure pattern develops. Single-fold hems that get bent, scraped, and compressed over and over will develop crescent-shaped micro-cracks at the rear corners. Thread frays. Seam tape edges lift. Moisture wicks upward along exposed thread lines, leaving dark tracks that creep up from the hem after twenty minutes on a wet surface.
Construction Standards Worth Checking
Seat and lower back seam attachment : 6–8 stitches per inch on structural seams. Below 5 SPI, expect seam grinning under sitting load. Above 9 SPI in coated fabrics, the needle perforations become a tear line themselves. The 6–8 SPI range exists for a reason.
Hem construction : Double-stitched hem with binding tape or webbing along the edge. Interior seam tape runs continuous 360° around the full hem circumference — 20–25 mm wide , with no short patches at the rear corners or side seam junctions. Short patch tape at corners is one of the most common hem failure points in mid-priced waders.
30-Second Seat & Hem Check
Fold the back panel inward. Look at the interior surface. The seat and lower back zone should feel thicker and stiffer than the upper back or thighs. A thin, consistent feel across the whole panel means the reinforcement is minimal.
Check stitch spacing at panel edges and hem corners. Look for consistent 6–8 stitches per inch. No skipped stitches. No enlarged needle holes at the rear fold points.
Trace the hem tape. Reach inside the leg opening and run your finger along the bottom hem. The tape should feel continuous — no abrupt stops before a corner, no short segments bridging a gap. Bend the hem from the outside. No visible tape crack lines. No loose folds.
Single-layered seat? Hem tape that stops short of the corners? No overlap between seat and lower back coverage? Expect abrasion failure fast during long sessions on wet surfaces. That's not a $300 problem you want to find at mile four.
Side Seam Intersections & Upper Thigh Panels
Side seams don't fail with a bang. They fail in silence — a slow split opening along the upper thigh mid-stride through fast current, stitches parting just enough to let the membrane leak the wrong way.
The stress here is shear, not tension. Each hip rotation, each sideways step across uneven streambed, loads the side seam from the side. The seam isn't pulled apart — it's twisted. That's a different problem. It needs a different fix than what works at the crotch gusset or knee panel.
The weakest spot sits where the torso side seam meets the leg side seam at hip level. This gets worse where a thigh reinforcement panel or stretch insert anchors into that same vertical line. Three fabric layers meeting at one stitch run builds a hard stress point. Seam allowances need trimming and fanning at that junction. Skip that step and you get a thick, stiff knot. That knot won't flex. The seam around it will — until it gives out.
What Qualified Construction Looks Like
Flat-felled or lapped seams along vertical side runs — not plain seams. Edge enclosure matters as much as stitch count.
Triple topstitching through thigh panel junctions, with SPI in the 6–8 range . Loose stitches pull strain into one spot.
Stay tape or seam tape running straight across every Y- or T-junction — no gaps where one panel edge ends and another begins.
30-Second Side Seam Check
Stretch it sideways. Grip both sides of the upper thigh seam and pull outward with steady tension. No splitting. No thread gaps. No sound.
Feel the junction. At hip level, that multi-panel crossing should feel dense but soft — not a hard lump. Thick and stiff points to poor allowance management. That spot will crack under flex load before the season wraps up.
Heavy-Duty Pocket Corners & Storm Flap Hinges
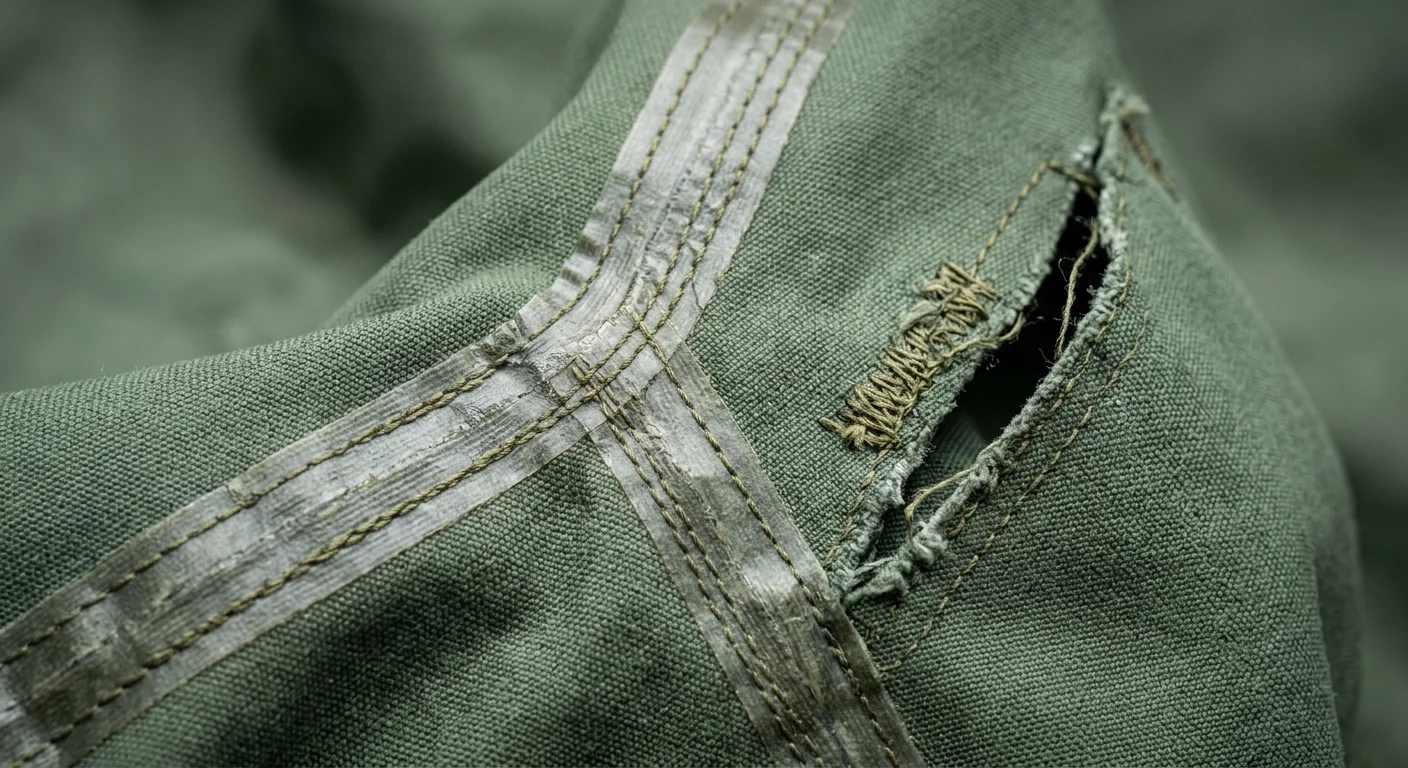
Pockets fail without warning — a slow diagonal split at one corner, and your pliers are gone.
Cargo pocket corners take downward shear every time something heavy drops in. Storm flap hinge lines take cyclic bending every time you flip them open. Both zones fail for the same reason: a single stitch line where there should be three.
What Qualified Construction Looks Like
Pocket corners : Look for a box stitch or diagonal bar-tack at every load-bearing corner — 10–20 mm, with 3–4 thread passes. One seam line is a budget shortcut. Count the passes before you buy.
Pocket mouth : You need at least two parallel rows along the opening edge. Check for dense bar-tacks at both end points — zipper ends, snap placket starts, side-entry cutoffs.
Storm flap hinge : Three parallel stitch rows , spaced 3–5 mm apart, running the full hinge length. Box stitches sit at the top corners where the flap meets the shoulder seam. Seam tape goes behind the hinge, covering every needle hole, and overlaps corners by at least 10–15 mm.
Flap edges : Rolled hem or bound edge — no raw cuts visible anywhere.
30-Second Check
Flip the storm flap open and closed five times. The flex should spread across the full hinge line — no single crease point carrying all the stress. Then load a pocket with something heavy. Pull the pocket away from the shell with light pressure. Watch the lower corners. Any diagonal spreading there means the reinforcement has already failed.
Single stitch line at a pocket corner? Flap edge lifting off the shell? Walk away.
Waistband Elastic & Belt Loop Attachments
The waistband is the quiet failure zone. Nobody talks about it — until cold water is pooling around their belt at chest depth.
Hydrostatic pressure at waist level runs around 0.1 bar per meter of immersion . That inward compression squeezes the elastic channel. It also pushes shear stress into every needle hole along the top edge seam. Load up a fishing belt — 1–3 kg of pliers, clippers, and gear — and those belt loop bases take real dynamic load with every step.
Here's what solid construction looks like:
Elastic channel : Double-layered nylon waistband, 1"–1½" wide elastic cut to 85–90% of your actual waist measurement. You need two parallel zigzag rows along the elastic attachment lines — one at the waistline, one toward the inner edge. Anchor stitches lock at all four points: center front, center back, both side seams. Skip those four anchor points and the elastic twists inside the channel. The waistband starts ballooning above your belt line within a season.
Seam tape : In waterproof waders, seam tape or PU hot-melt sealant must cover every needle line at the elastic channel — including where belt loop stitching crosses it. That crossing is the most common top-edge leak point in mid-priced gear.
Belt loops : Box-X or bar-tack reinforcement at both loop ends — 10–14 tight stitches across 8–12 mm. Each loop stitches through the full waistband height: top attachment at the upper waistband seam, bottom attachment at the waist-to-pant-body seam. A loop that floats mid-fabric will tear straight out the moment your belt load spikes.
30-Second Waistband Check
Stretch it first. Grip the waistband at both side seams and pull to full stretch. The top edge stitch line should stay tight and uniform — no long gaps, no elastic peeking through needle holes. Release it. Every quadrant should snap back at the same speed. A sluggish center back means that anchor stitch has already come loose.
Pull each loop upward. Hook a finger under each belt loop and pull up with real tension. Zero fabric lift around the base is the standard. Any puckering at the stitch line means stress is already building there. That loop tears out before your second season ends.
Scan the top edge. Look for micro-cracking or thread fuzz where belt loops or suspender anchors cross the topmost stitch line. That's early-stage top-edge splitting. On a waterproof wader, check that seam tape runs across those intersections without gaps — no bare spots where a loop base meets the elastic channel seam.
Gravel Guard Hems & Lower Cuff Transitions
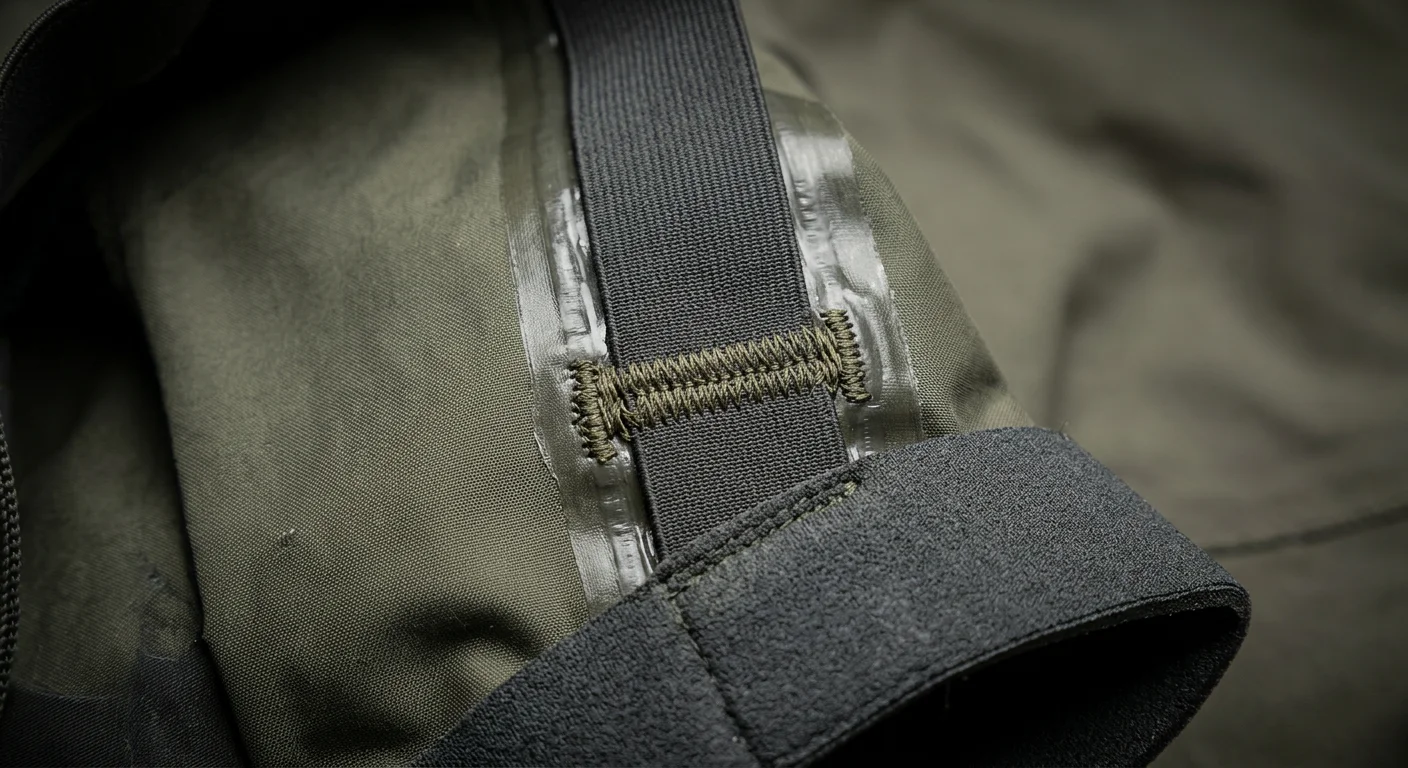
Gravel guards are the most ignored seam zone on stocking-foot waders. You won't think about them — until a pebble works its way into your bootie at mile two and grinds through the fabric by mile four.
The gravel guard is the neoprene cuff wrapping the bottom 3–5 cm of the leg opening . It overlaps the boot collar, blocks debris, and keeps the stocking-boot junction sealed. A lace hook at the center front clips to your laces. It pulls the guard down with 5–7 cm of continuous tension on every step. That tension works alongside boot-collar abrasion and streambed grit. Together, they concentrate stress at three specific points: the front instep, the inner ankle, and the rear strap-to-cuff seam if your design runs an underfoot strap.
Failure doesn't announce itself. It starts as broken lock-stitches in a 10–20 mm segment near the lace hook. Then it zippers. Once 2–3 cm of hem opens, coarse sand pours straight in — and bootie pinhole leaks follow fast.
What Solid Construction Looks Like
Continuous lock-stitch perimeter , 7–9 stitches per inch, using Tex 90 bonded polyester thread — 13–15 lb tensile strength per end, UV and grit resistant
Bar-tacks at every lace-hook attachment point and at stitch start/stop positions — this stops the zipper-open failure pattern dead
Interior seam tape extending 5–10 mm past the gravel guard stitch line — the tape shares load with the stitching instead of leaving thread alone to tear through base fabric
Reinforced overlay patches at the front instep and inner ankle, 20–30 mm wide beyond the hem line — these give you a sacrificial abrasion layer before stress ever reaches the structural seam
30-Second Cuff Check
Sweep the full perimeter first. Run thumb and forefinger around the entire bottom cuff edge. Zero loose threads. No raw neoprene foam. No soft spots where the cuff feels hollow or detached.
Check the lace-hook zone. That's where failure starts. Look for dense bar-tacks, not a single stitch line. Darkened or fuzzed thread near the hook base means abrasion has already started cutting through.
Lift the overlay corners. At the front instep and inner ankle, lift where the overlay ends. It should be solid — no bubbles, no edge curl. Then flip it inside out: seam tape should cross the lower hem line flat and clean, with no peeling edges.
Pull it over a boot and walk. You want firm tension with no stitch popping. No rolling at the hem edge after ankle flex. Rolling means the tape has already lost its hold.
Conclusion
Every seam tells a story. On a $300 pair of waders, that story had better not end with cold water flooding your boots at mile two of a backcountry wade.
You now know where fishing bibs and waders hold up or fall apart. The weak spots are clear: the crotch gusset under lateral tension, the boot-foot junction taking relentless flex, the suspender anchor points carrying your full load through a long current crossing. Triple stitched seams, bar tack reinforcement, and taped seams aren't marketing language. They're the difference between gear that lasts three seasons and gear that leaks by October.
Before your next purchase, flip the garment inside out. Run your fingers along every high-stress area covered in this guide. No reinforcement you can feel? It's not there.
Buy once. Wade with confidence. The river doesn't care about your warranty — but the right stitching will.If you're sourcing in volume, always compare fishing waders wholesale price alongside construction quality—not price alone.